
How To Install Stone Veneer
Thinking about giving your home a facelift with stone? Whether you want to dress up your fireplace, boost curb appeal with a fresh exterior, or add texture to an entryway wall, stone veneer is one of the most rewarding ways to do it.
But how do you install it the right way?
As with any masonry work, success is in the details. From choosing the right type of veneer to prepping the surface and laying each piece correctly, every step matters. In this guide, you’ll learn what you need to get started, how to do it properly, and when it might be worth calling a professional masonry contractor.
We’ll also break down the differences between Natural Vs. Manufactured Stone Veneer, explore full and thin stone veneers, and touch on what matters most if you’re doing brick installation in Minnesota or similar climates.
Let’s get started.
What Is Stone Veneer, Really?
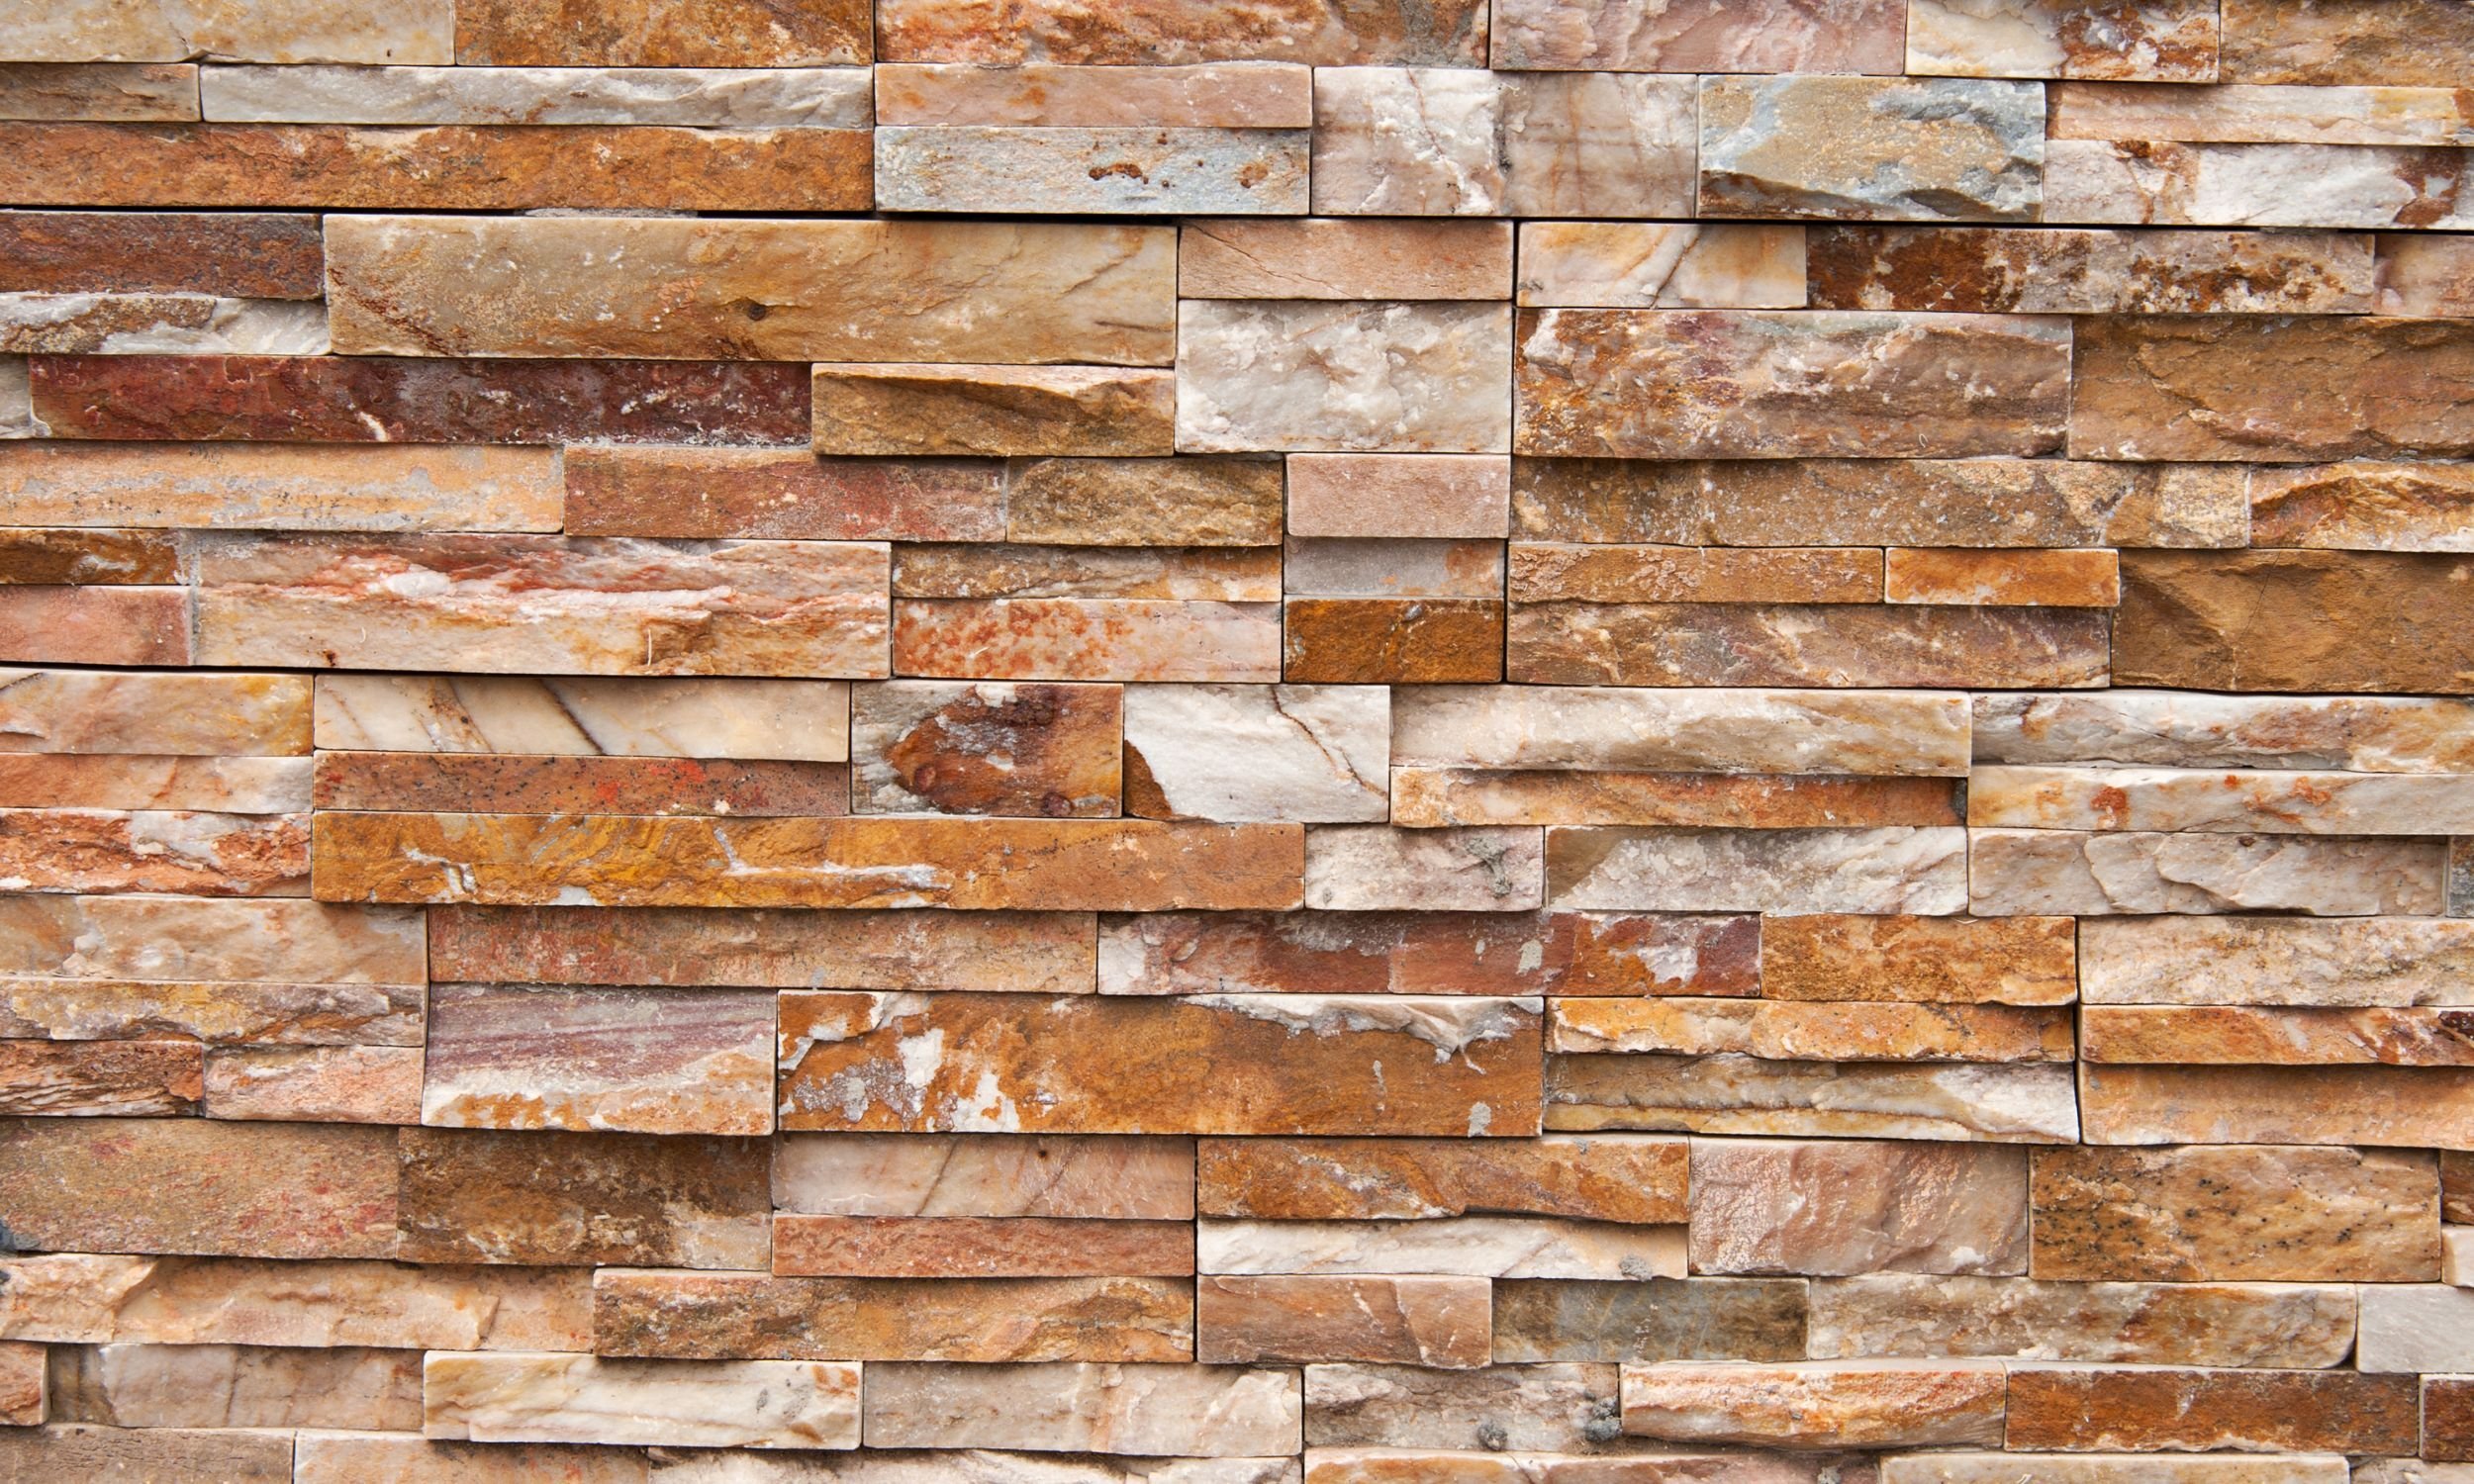
Stone veneer is a thin layer of stone (real or manufactured) used to give walls and surfaces the look and texture of solid stone—without the weight or cost. It’s popular for both interior and exterior applications because it delivers that “wow” factor without major construction.
Common places to use stone veneer:
Outdoor columns and home facades
Fireplaces and accent walls
Patios and garden features
Basement or bar walls
Veneer can be applied to wood framing, masonry walls, or even drywall—depending on the type.
Natural vs. Manufactured Stone Veneer: Which One’s Right for You?
One of the first decisions you’ll make is whether to go with natural or manufactured veneer.
Natural Stone Veneer:
Made by slicing real stone like granite, limestone, or fieldstone
Each piece is unique in texture and color
Strong, weather-resistant, and long-lasting
Heavier and often pricier than manufactured options
May require more experienced handling during installation
Manufactured Stone Veneer:
Created by pouring concrete into molds shaped like natural stone
Lighter in weight and often easier to work with
Less expensive and easier to cut
Consistent in appearance (but sometimes less authentic)
Needs to be sealed for protection, especially in freeze-prone areas
If you're aiming for long-term durability and a more organic appearance, natural is the way to go. But if you're remodeling on a budget, manufactured stone can still give you a stunning finish.
Both are great options—it just depends on your needs and where the veneer is going.
Full and Thin Stone Veneers: Know the Difference
Another decision? Choosing between Full And Thin Stone Veneers.
Full Stone Veneer:
Typically 3–5 inches thick
Very heavy—requires a footing or reinforced wall
Ideal for new builds or structural stone features
More costly due to extra labour and weight
Thin Stone Veneer:
Usually under 2 inches thick
Lighter and easier to install on existing wall
Can be applied with or without a masonry backing
Popular for remodels, fireplaces, and accent features
Most homeowners today lean toward thin stone veneers for their flexibility and cost-effectiveness. They offer the same visual impact but without the need for major structural support.
Step-by-Step: How to Install Stone Veneer
Ready to get hands-on? Whether you’re tackling a weekend project or planning a bigger transformation, here’s how the installation process typically works.
Step 1: Prepare the Surface
Start by understanding what kind of surface you're working with.
If you're applying veneer over masonry, like concrete or brick, you're in luck—these surfaces are ideal and usually need minimal prep.
If you’re working with wood framing, drywall, or sheathing, you’ll need to:
Apply a weather-resistant barrier (like building paper or house wrap)
Install metal lath over it
Add a scratch coat of mortar and let it cure
Pro tip: In colder climates like Minnesota, extra care must be taken with moisture barriers to avoid future issues from freezing and thawing.
Step 2: Lay Out Your Stone Pattern
Before you start sticking anything to the wall, spread your stones out on the ground. This helps you mix sizes and colors for a more natural look.
Dry-fitting the pieces also helps you avoid awkward gaps or repeating patterns. This is especially important if you're working with natural stone, which varies more in shape and tone than manufactured options.
Step 3: Mix Your Mortar
You’ll need Type S mortar (or the type recommended by your veneer manufacturer). Mix it to a peanut butter consistency. Not too dry, not too wet.
Step 4: Apply the Stones
Use a trowel to apply mortar to the back of each stone, roughly ½ inch thick. Then press the stone onto the wall using a slight twisting motion to help it bond.
If excess mortar squeezes out, let it firm up for a few minutes, then clean it with a tuck pointer or sponge.
Step 5: Fill in the Joints (If Needed)
If your veneer has visible mortar joints (rather than a dry-stacked look), now’s the time to fill them using a grout bag. Let the mortar set, then tool the joints for a neat finish.
Step 6: Final Cleanup and Sealing
After the mortar is dry, gently brush away dust or residue. Don’t use harsh chemicals—just a soft brush or damp sponge.
If you're using manufactured Stone Or Applying Veneer outdoors, consider sealing it. This protects against stains, fading, and harsh weather.
A Word on Minnesota Masonry
If you're doing this project in a region like Minnesota, there are a few extra factors to think about.
For one, Brick Installation In Minnesota or stone veneer projects need to account for the extreme temperature swings. That means:
Extra moisture protection
Freeze-thaw-resistant mortar
Proper flashing and drainage systems
If done poorly, water can seep behind the veneer, freeze, and cause the stones to crack or fall off. That’s why many local homeowners turn to a Professional Masonry Contractor to get it done right the first time.
When to Call a Masonry Contractor
Stone veneer may seem DIY-friendly—and for some indoor projects, it is. But for larger outdoor jobs, uneven surfaces, or anything involving structural changes, it’s best to bring in the pros.
Here’s what a good masonry contractor brings to the table:
Proper surface preparation
Code compliance and safety
Quality mortar and sealing techniques
Clean, professional finish
Warranties or guarantees on their work
Plus, they know what works best for your specific region. For example, a contractor familiar with brick installation in Minnesota understands how to build with materials that won’t buckle, crack, or erode in tough winters.
Wrapping Up: Bring Your Stone Vision to Life
Installing stone veneer might take some time and patience, but the results can completely transform your space. Whether you choose natural vs. manufactured stone veneer or go with full and thin stone veneers, the key is in planning, preparation, and craftsmanship.
Start small if you're new to masonry—or hire a trusted local Contact Masonry Contractor if you want peace of mind and a flawless finish.
And remember, when it’s done right, stone veneer doesn’t just look great—it lasts for decades.
Thinking about adding stone or brick to your home in Minnesota?
Make sure to work with materials that can stand up to the cold—and don't hesitate to bring in an expert who knows the climate inside and out.
Have questions? Need tips or a project estimate? Reach out to a licensed masonry contractor near you and bring your vision to life, one stone at a time.
FAQ
-
Stone veneer is a thin layer of natural or manufactured stone used to give surfaces the look of full stone without the weight or cost.
-
It can be DIY-friendly for small projects, but larger or outdoor installations often need a professional.
-
Natural stone is more durable and unique, while manufactured stone is lighter, more affordable, and easier to install.
-
Yes, Type S mortar is typically used to securely bond the stone to the surface.
-
With proper installation and care, stone veneer can last for decades.